

Creating and Using Audio
There is an excellent, widely used, free software called Audacity that is used to make recordings. This software allows for all manner of editing: cutting and pasting; adjusting volume; eliminating noise, etc. It is available for both Mac and PC users.
This is a quick-start explanation of Audacity. You will have to download and install it, which is straightforward for both Mac and PC. When you go to the website it should recognize the computer you are on and give you the correct version to download.
Once installed, open Audacity. You should see something like this.
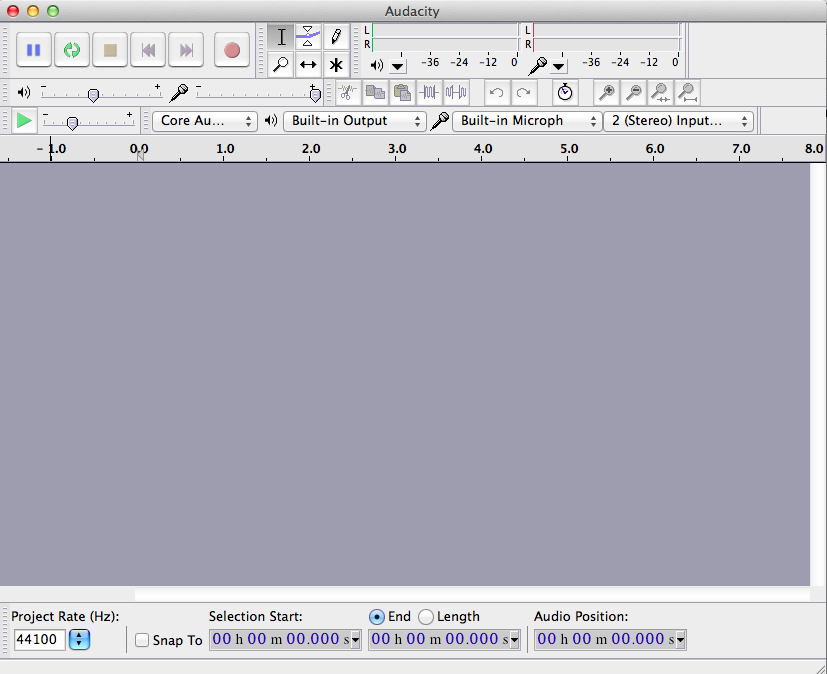
Use the controls in the upper left to record. Press the red circle to start recording; use the tan box to stop. After you have recorded, listen to make sure your volume settings are good and that it sounds okay.
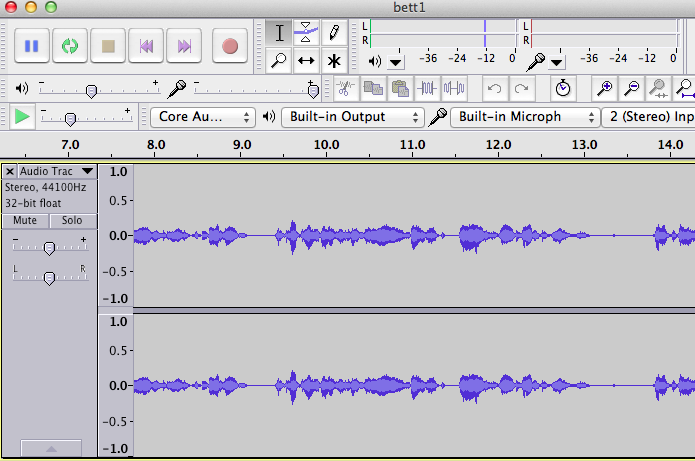
Once you have recorded, you will see the sound.
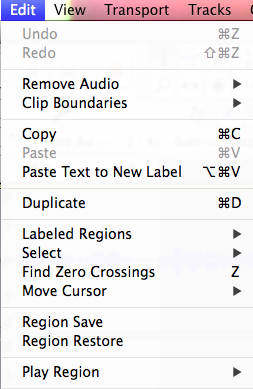
There are many editing functions, including

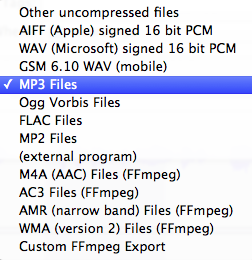
To save your file, or export it as a usable sound file, use the File menu.
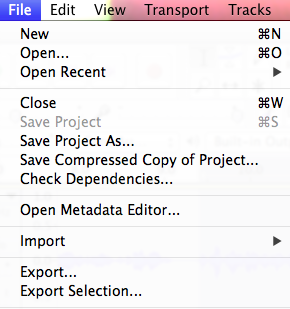
Note that there are many sound file formats. You will normally want to use mp3 as it is the most common.
To work with a specific part of the recording, click and drag to highlight it. You can then delete it if you do not want it, or cut or copy it if you want to use it or repeat it elsewhere.

Note that you can use standard keyboard shortcuts here, such as the Delete key to delete, Ctrl C to copy; Ctrl X to cut; Ctrl V to paste; Ctrl Z to undo.
You can continue recording where you left off. Just put your cursor there and press the record button again.
One important note about saving as an mp3 file. This requires an additional file be added called a LAME mp3 encoder. You can find information about it here. It is free and not complicated to do, but it is necessary in order to export your sound file as an mp3 file.
There a number of good tutorials sites for Audacity, including by the makers of Audacity.
https://audacity.sourceforge.net/manual-1.2/tutoria...
https://www.freeaudacitytutorials.com/