

Practical Application:How To
The first step in ePortfolios is deciding where to house them. If your school uses Google Apps for Education (GAFE), Google Sites is certainly a strong candidate. In addition to being part of the Google Apps suite, your administrator can create portfolios for every student. One downside of that particular solution is that when a student leaves the school - either moves away or graduates - she will no longer have access to her own portfolio.
Another option is one of the many web sites that were set up specifically to create an online presence. Many of these are free, or at least have a free version that allows you to create one or two websites.
At the very bottom is a link to a free, online course on digital portfolios.
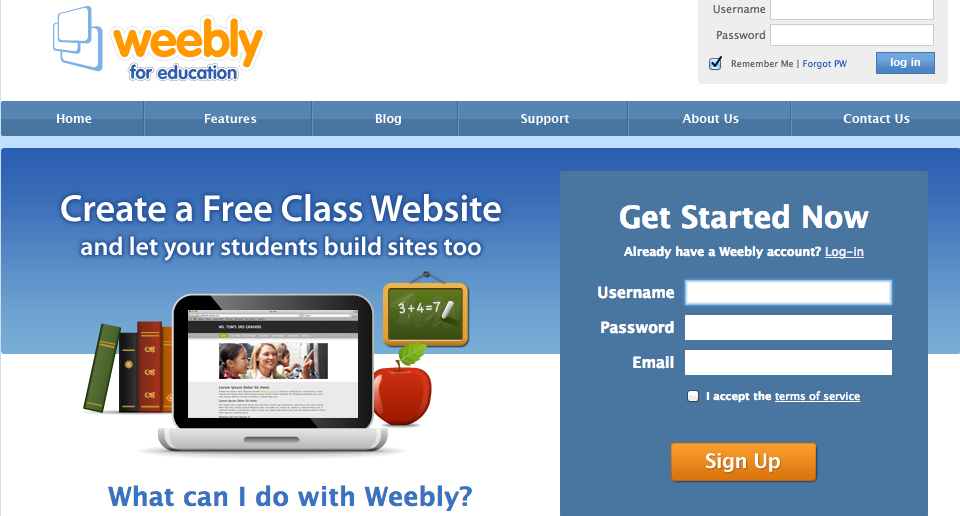
Weebly
Weebly is a free website hosting service (with premium versions) allowing for 2 websites, thereby giving the student some flexibility in trying different approaches. Weebly has a site for normal uses and one specifically for educators that includes 40 student accounts. Additional accounts are just $10 for 10.
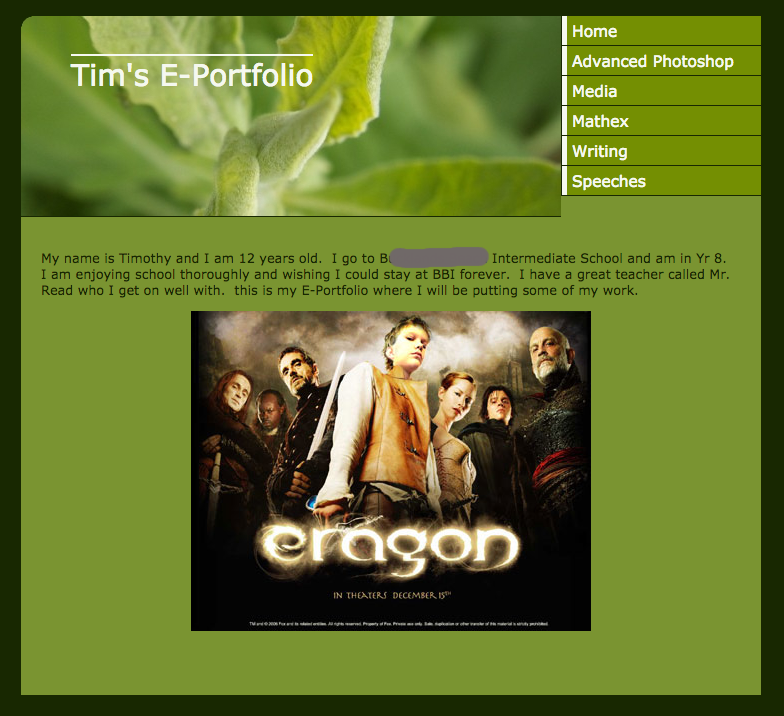
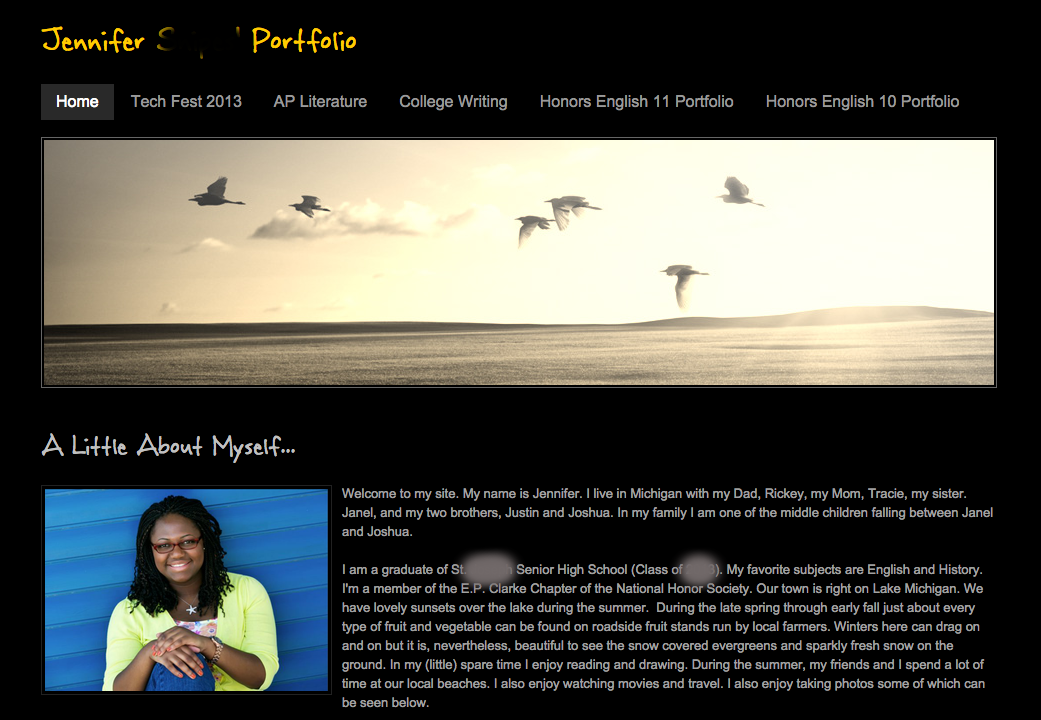
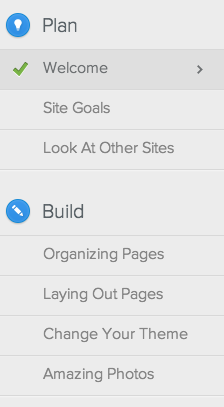
Here are the front pages of several student ePortfolios using Weebly.
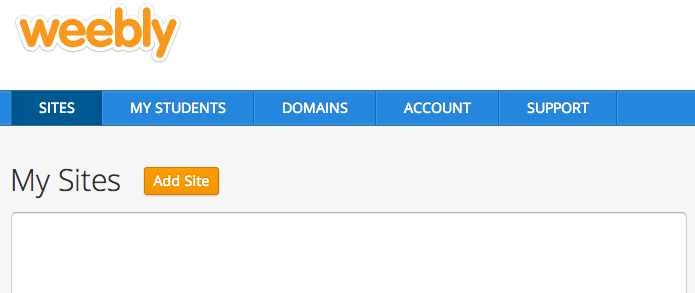
Once you've created a teacher account at http://education.weebly.com/, you can add your students in order to create websites for them. The students each get their own login and can choose their site URL (though you may want to standardize it).
Students then have the option if getting right down to building their site or using Weebly's tutorials.
There are a number of brief explanatory videos.
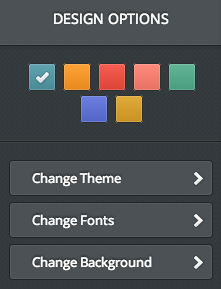
Students can customize the design of their site.
Pages can easily be added.
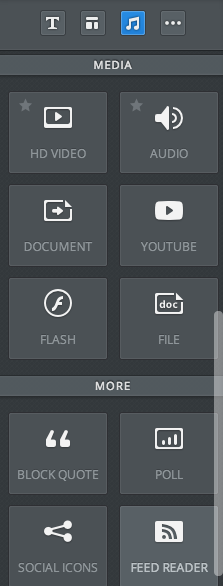
Weebly has a wide range of drag and drop modules to make creating and customizing the page contents very straightforward.

Creating a Weebly website
Even if you do not ultimately decide to use Weebly, this is a worthwhile exercise for several reasons: it is good practice to work with a new website and see another way to build a portfolio; you may decide to have your students use Weebly; Weebly may be a good vehicle for your own personal website.
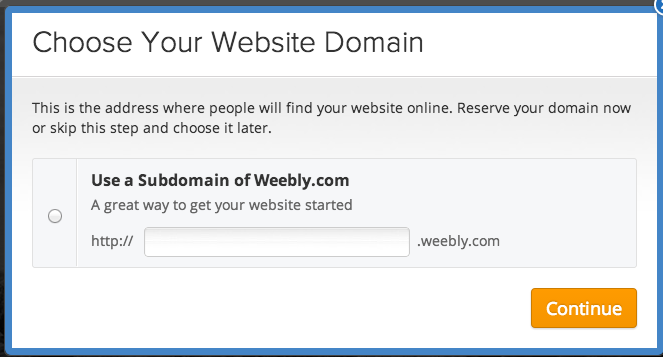
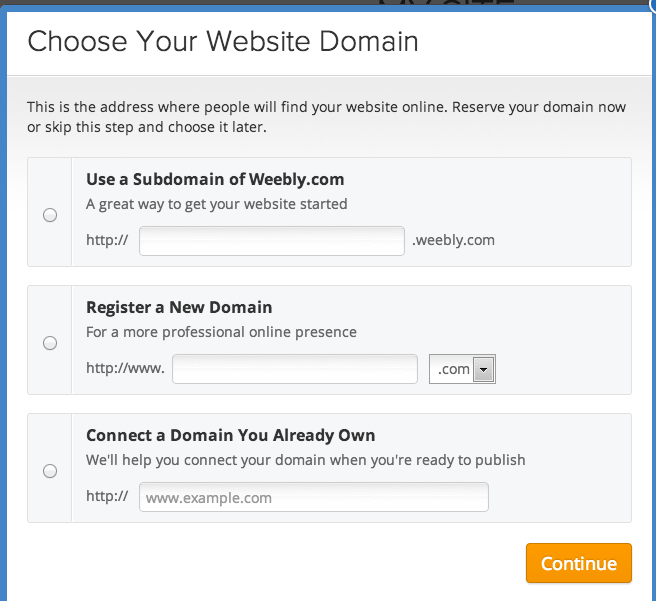
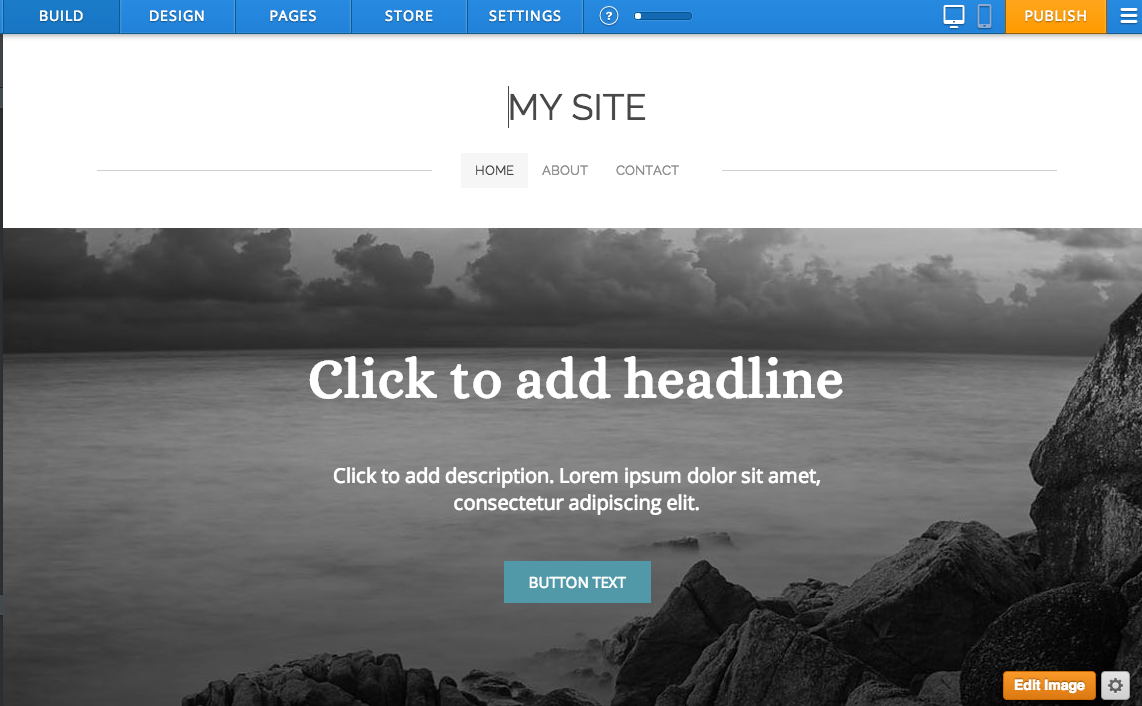
Navigate over to http://education.weebly.com and create an account.
Follow the steps to create an account and an initial website. Give your site a name that makes sense.
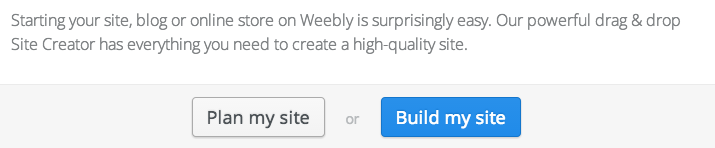
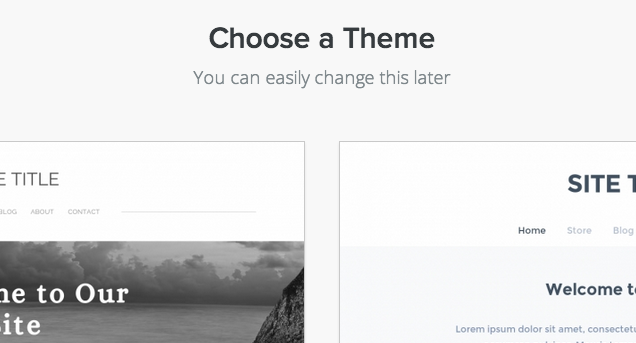
Once you've named your site, you can start building it. Note that you can always change the design of the page. Weebly as dozens of different designs.
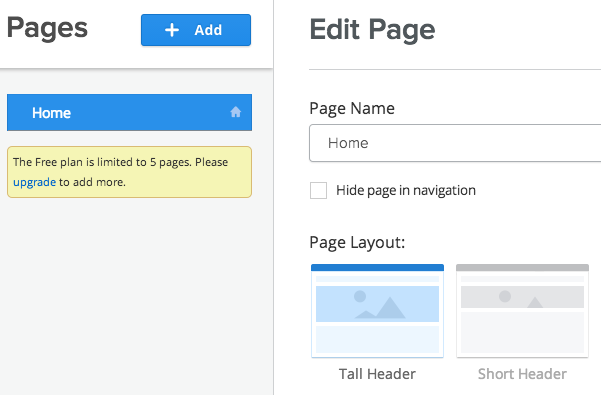
Once you've chosen a design, you can quickly and easily add pages, and then add elements to each page.
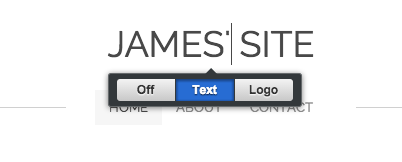
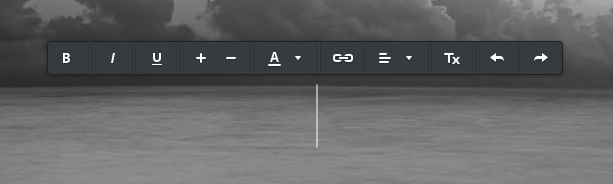
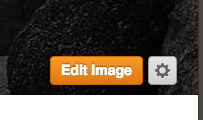
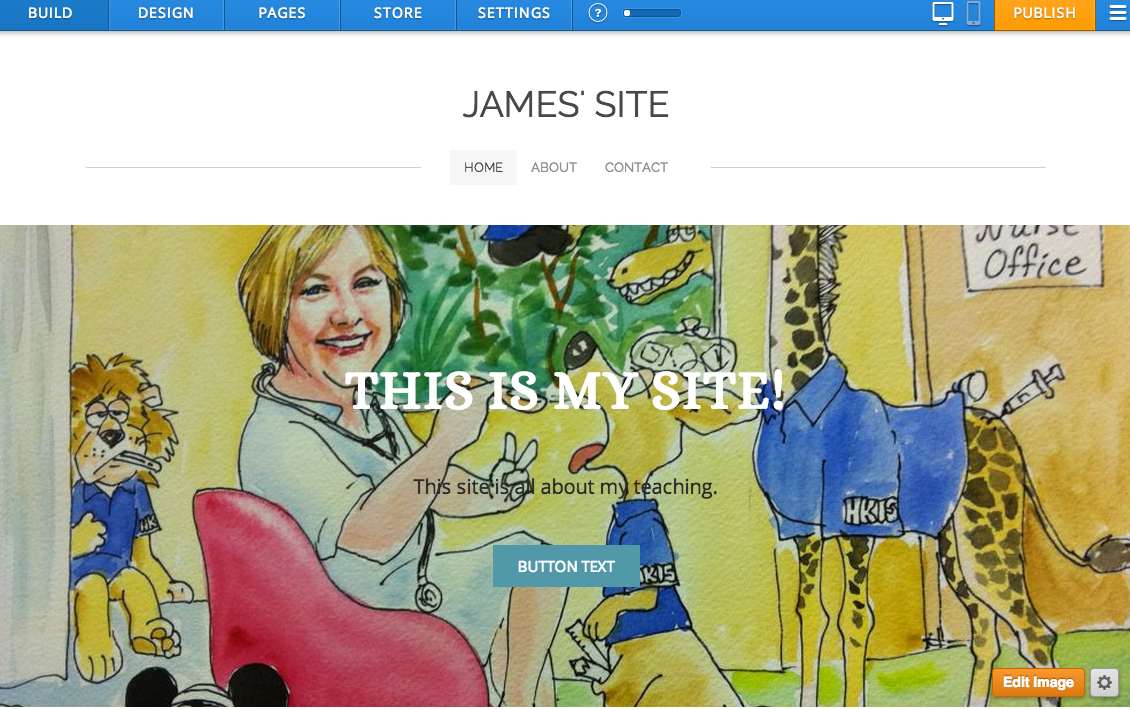
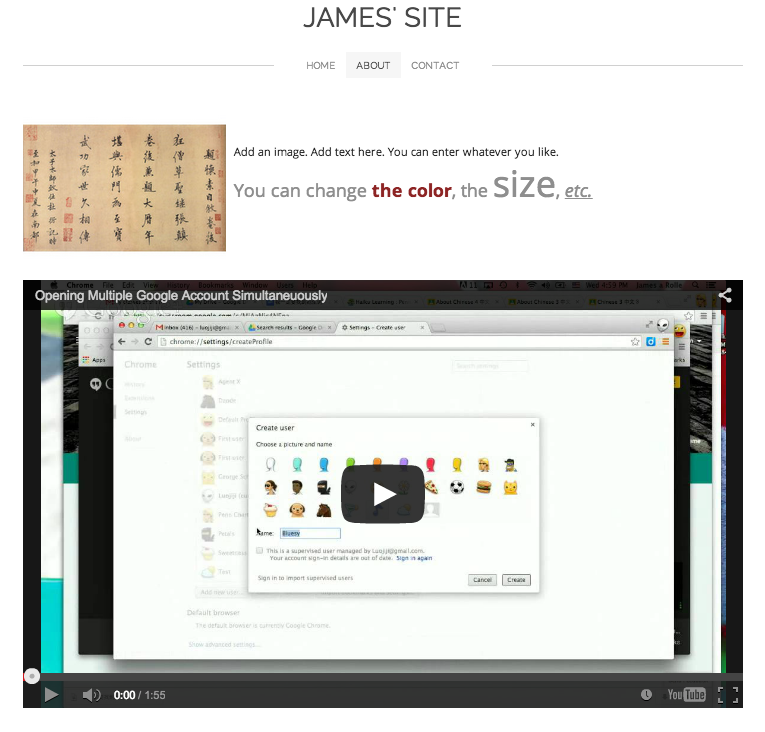
Start by customizing your homepage. Note that each item or element you see on the page is changeable. Go in and change the title, write a description, and - if you have an image easily accessible - change the image.
You might get something like (or more likely completely different from) this:
Now let's look at another page and add some content there. Click on Pages, choose the one called About, and let's change it to a page with no image.
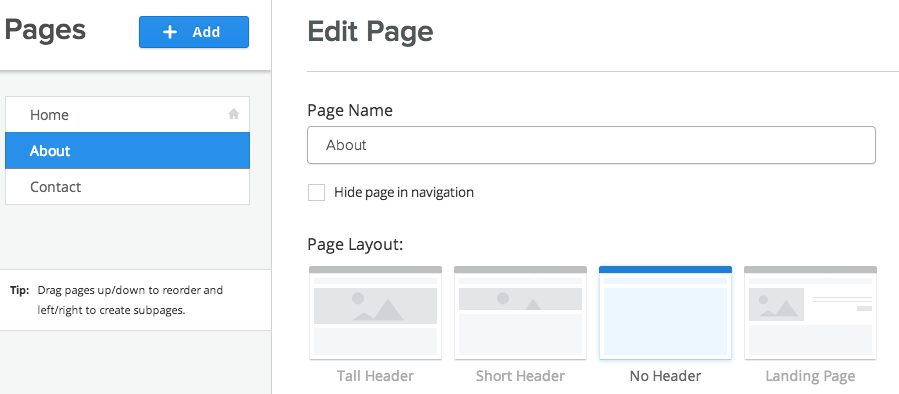
Save it and edit it.

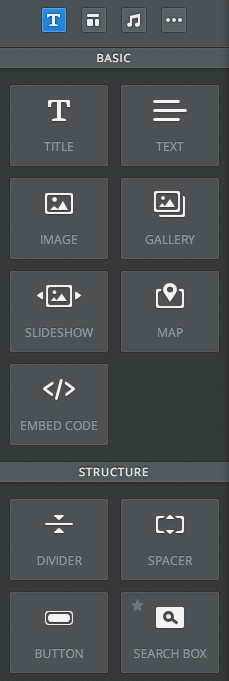
Next, drag content placeholders from the left hand menu onto the page.
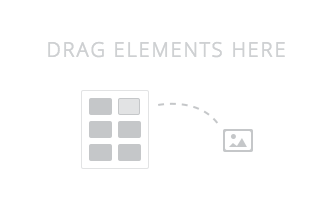
Try dragging in a text element, an image, and a Youtube video, then edit the text, upload an image and add a Youtube link.

When you are ready for your site to go live - to see what it really looks like, click on Publish in the upper right.

You can always go back and change the design, add or delete pages, add content to existing pages, etc.
Wikispaces
Wikispaces was discussed at length in the CMS unit, so we won't repeat that here. As the teacher, there are several possibilities. You could create a wiki specifically for displaying student work. Students could be members - and thus editors - of the wiki, create their own pages, and upload their own work.
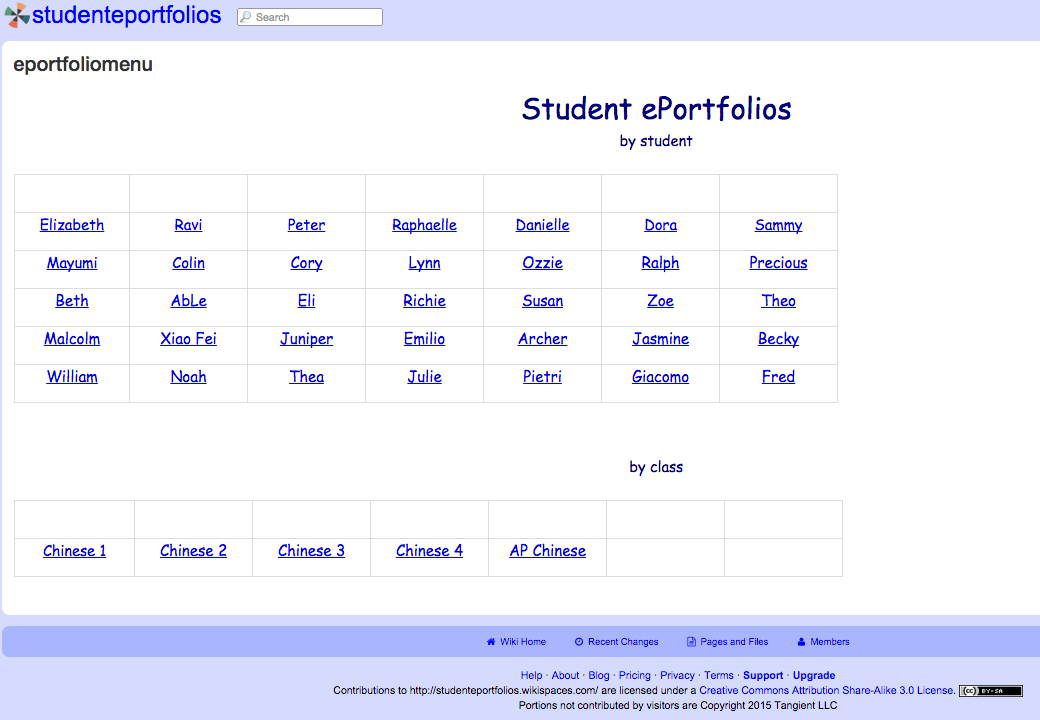
Here's a setup for five Chinese classes. The menu page leads to each student's own portfolio page(s), which they can update - add to, format, etc. - themselves.
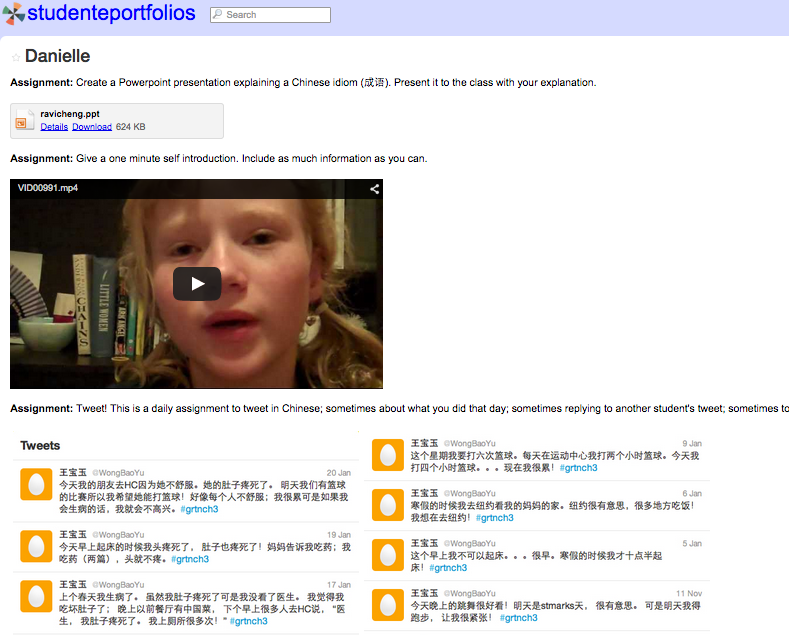
Choosing one of the student's pages, you might see the following, where she has added several assignments.
Three Ring
For younger students, where you as the teacher want to create and maintain the portfolio, one possibility is called Three Ring. This is an iPad or Android app that allows you to setup your class, add artifacts - photos, videos, recording, and notes - for each student under various headings or tags. These artifacts are automatically transferred to their online site.
OpenSchool eportfolio
Like Three Ring, OpenSchool eportfolio is setup to allow a teacher to enter sections and populate them with students, then enter projects and add artifacts - images, photos, audio, video, URLs - to the project for each student. It is limitd in this respect - there has to be an associatd project - but otherwise does allow you to store artifacts. All data is shared between the tablet and the website.
Evernote
We have discussed using Evernote, but it can also be used to collect portfolio artifacts. Note that this probably only makes sense if you are already using Evernote. In that case, it can be a natural solution. Here's an article about using Evernote, originally from edudemic.com.
Once you have decided on the host for your student ePortfolios, there are a number of steps that go into the process for you and for your students:
- Decide what the purpose of and audience for your ePortfolio is
- Collect the work - this should initially be everything you create
- Choose the best work to highlight
- Add additional information about the work - feedback, process, reflections, etc.
- Invite feedback on the portfolio