Tools to Help With Listening

Work through this lecture at a leisurely pace; don't rush yourself. Play with each of the tools until you are comfortable enough to make a decision as to whether you want to use it with your students or not. We suggest you start with one or two - the one or two that you are most comfortable using, that fit best with your teaching, and that you believe will most benefit your students.

Voicethread

(Note: to review how to use Voicethread, go back here.)

Just as Voicethread, discussed in detail in the speaking section, can be used for practicing speaking, it can also be very successfully used for listening. In addition to posting your own speech for students to listen to, you can upload videos onto Voicethread. The advantage to this is that you can have students summarize or otherwise demonstrate their listening comprehension right on The Voicethread, and they can listen as often as is necessary for them to understand.

By using the different screens - really as many as you want to i- n a given Voicethread, you can add complexity to a listening. For example, you could start with a simpler version then gradually add more sophisticated vocabulary or structures, thereby gradually raising the student’s level by slowly but surely introducing more difficult language.

Below are some examples of using Voicethread for listening practice. (You will have to be logged in to Voicethread to view them.)

Native speakers talk about weather https://voicethread.com/share/2041376/

Respond to questions about video https://voicethread.com/share/1070995/


Playposit and Edpuzzle

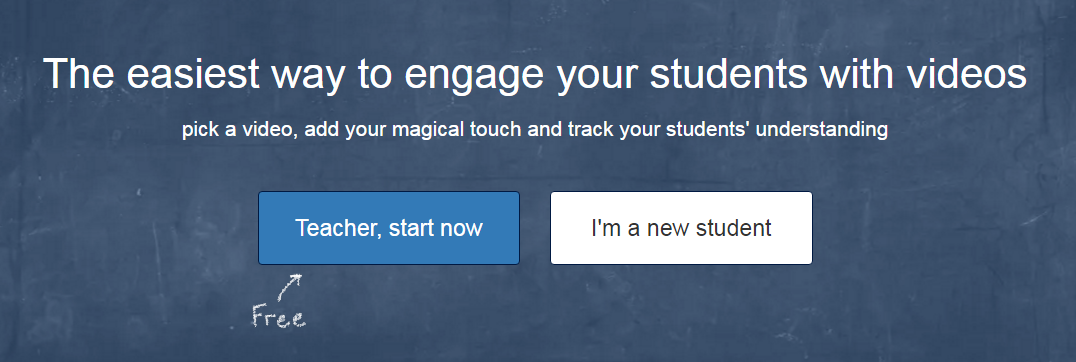
Edpuzzle is a wonderful new tool that allows you to add questions and comments on to a video and track your students understanding. it is easy to use and you can use your own videos or videos you find anywhere on the internet such as YouTube or TeacherTube or Vimeo. Watch the following very brief video to get an overview of what Edpuzzle can do for you.

To set up a free account navigate to the end puzzle website and click on teacher start now.

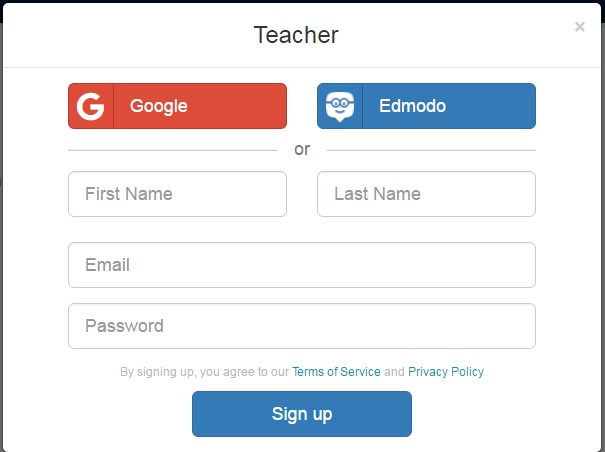
Use your Google or Edmodo account to create an account or just use an email address.

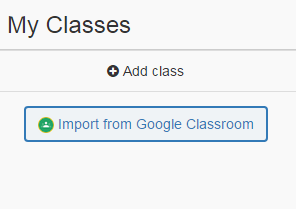
Adding a class is as simple as clicking on the Add class icon though you can also import classes from Google classroom.

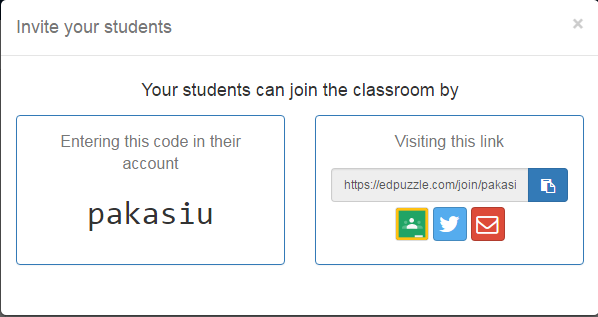
Getting your students into an assignment is as simple as getting them a code or a link.

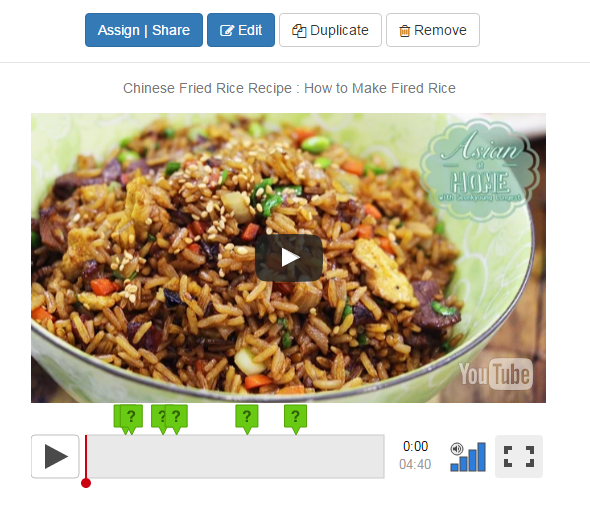
This is what an assignment looks like when it's done. You can see a preview of the video as well as the places underneath where questions will pop up as students play the video back.

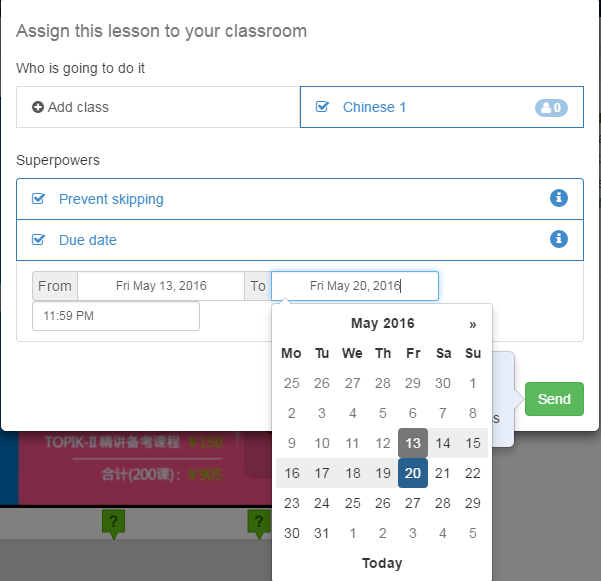
Once you've created a lesson, it's trivial to pop it into your classroom, give it a due date, and decide whether you want students to be able to skip or not.


Each lesson video create appears in your dashboard.


Actually working with the videos is also very straightforward. you start by finding a video or uploading a video you want to use. The next step is to trim a video to include only as much of it as you want. Then watch the video and add questions - multiple choice or short answer - wherever you want in order to check understanding.

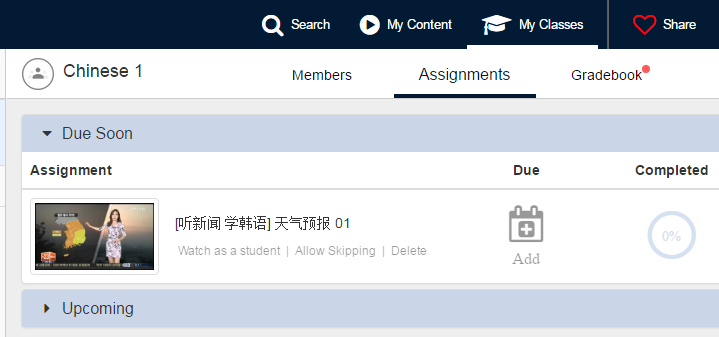
As students complete the work, you'll be able to see how many students are done and, if you're using multiple choice questions, what they got right and what they didn't get right.

Because you can add in voice comments and puzzle can also be used to help you guide students as they go through the listening process.

Listening comprehension is easy to measure once you have a suitable video. There's so much video content available online that you should be able to find videos relevant to what you're doing in class. But even if you can't, simply creating a video and using that can be an engaging and effective way to assess and improve listening comprehension.

-----------------------------------------------------------------------------------------------------------------------------

Playposit, which used to be called EduCanon, has very similar functionality to Edpuzzle. You really don't need both. Once you decide which one you prefer and are more comfortable with, it should be more than sufficient to just use that one. They both provide straightforward, effective functionality to help your students with their listening comprehension.

According to the website, “PlayPosit (fka eduCanon) is an online learning environment to create and share interactive video lessons. Teachers begin with any online video (screencasts, Khan Academy, TED, etc.) and transform what is traditionally passive content into an active experience for students, with time-embedded activities.”

One advantage Playposit has is a substantial help section, found here https://playposit.uservoice.com/knowledgebase

Here’s what a video lesson looks like:

https://www.playposit.com/public/1/370523/pass-com...

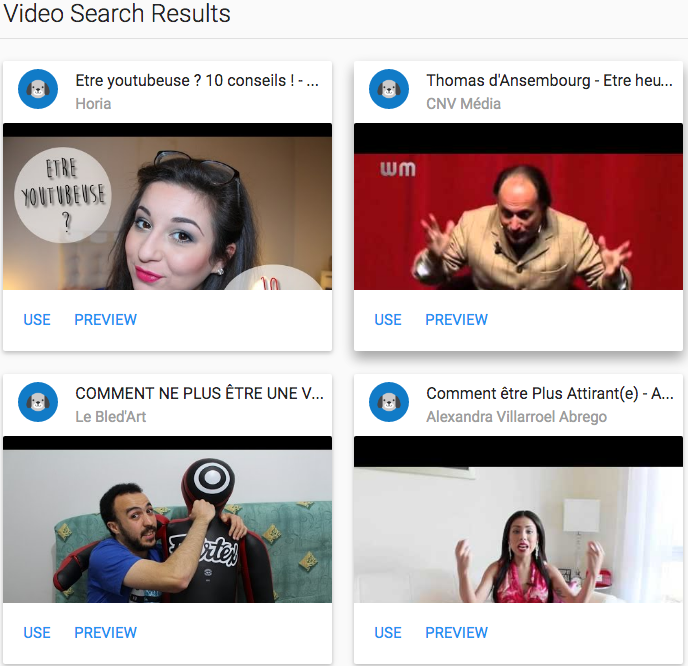
Once you have created your free acount, you need a video to work with. You can provide a URL of the video you want to use, or search on their website.

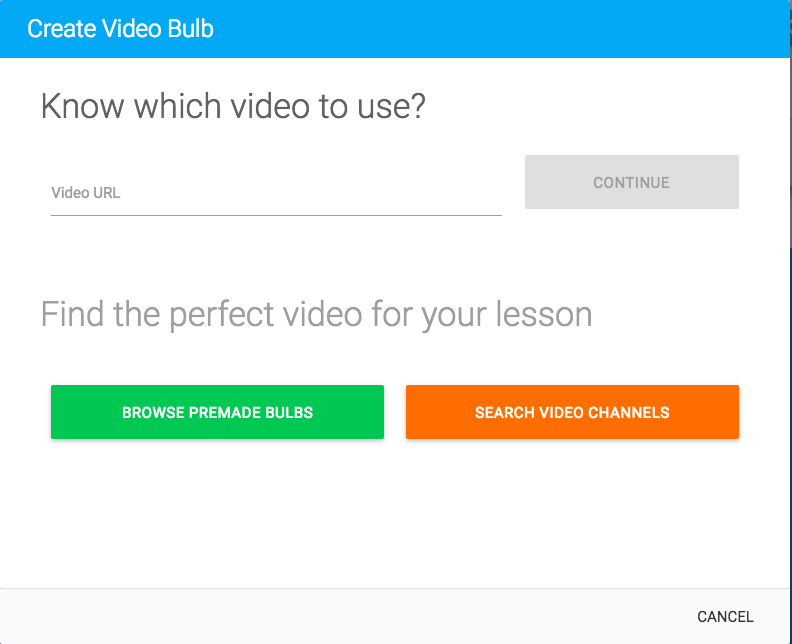
They have featured channels, or you can search for videos on the Internet.

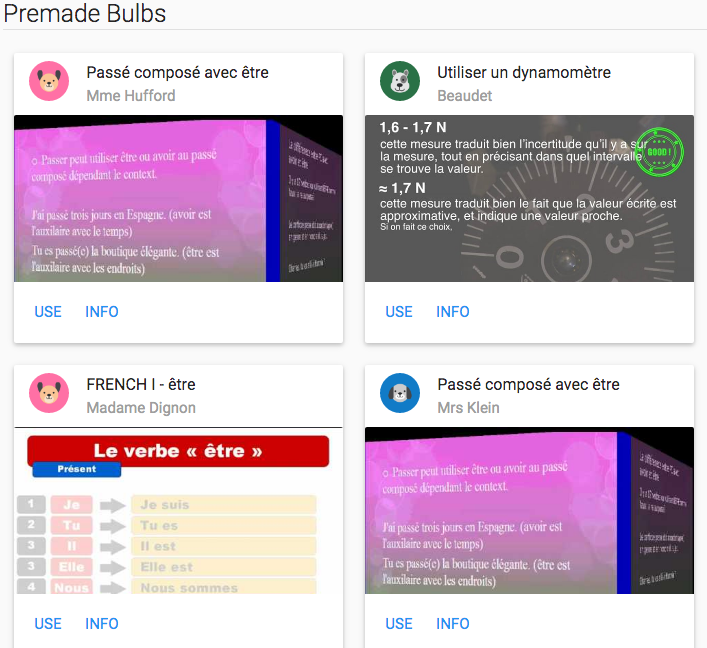
They also have lots of pre-existing lesson videos you can use (though they call them bulbs).


Once you choose a video, it opens in a screen setup to start building your lesson.

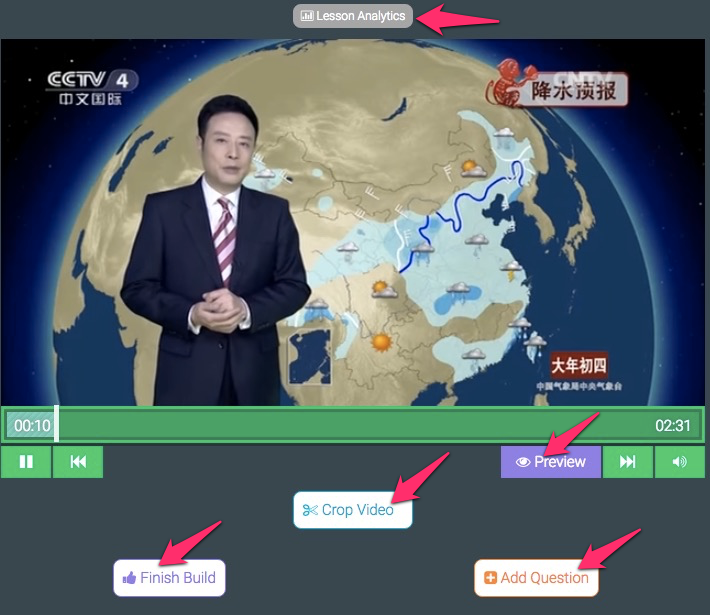
To crop the video, click on the Crop Video icon. Up pops a little time bar so that you can adjust the starting and ending points. This is particularly useful for grabbing parts of longer videos.

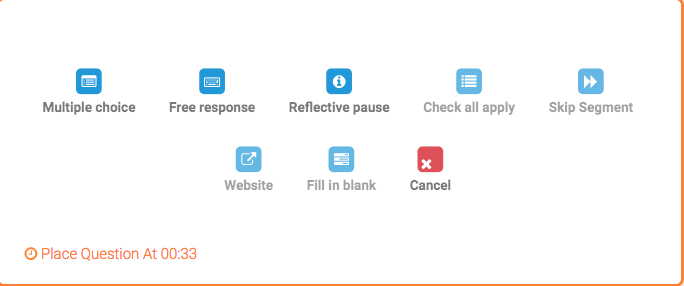
Clicking on Add Question pops up a box to choose the question type. Note that the video should be at the place you want the question to appear.

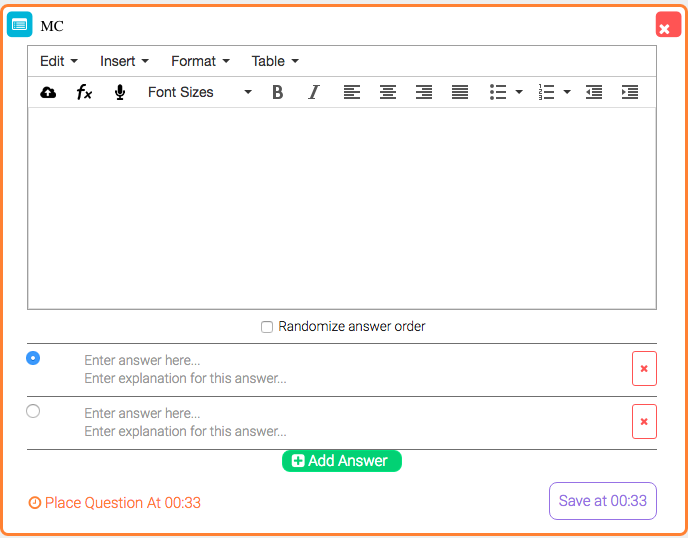
Choosing Multiple choice gives you this screen

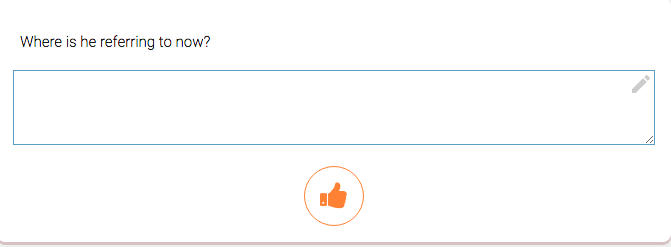
While choosing Free response gives you this one.

So when the student plays the video, and the video reaches this point, the question will pop up

Note that the purple Preview icon lets you quickly and easily see what the student will see.

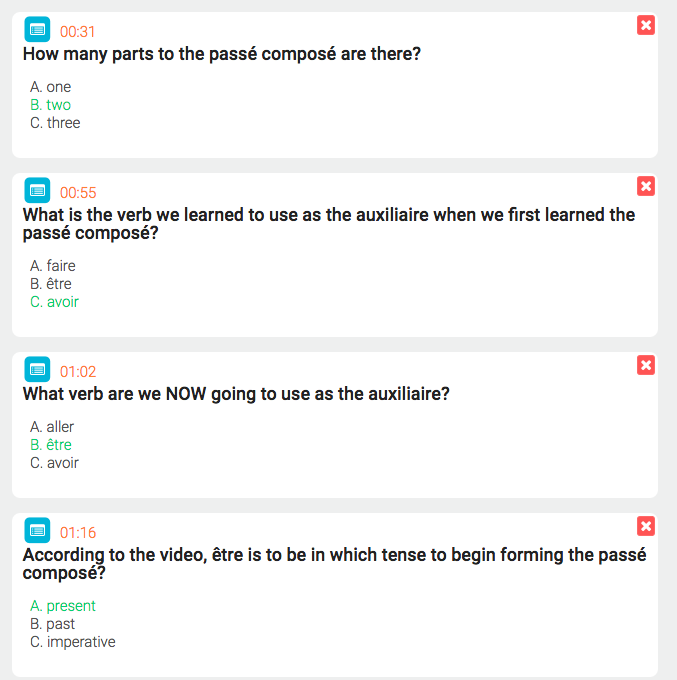
As you are creating questions, they are listed helpfully to the right.

The Lesson Analytics lets you know how many of each question type you have.

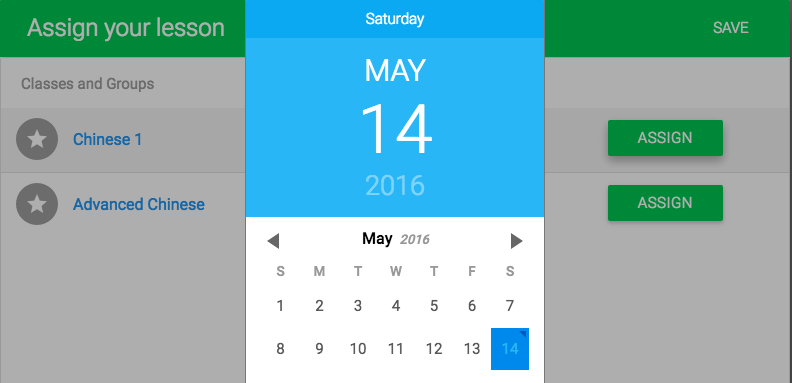
When you are done, click on Finish Build and you will have the chance to assign the lesson to one of your classes, with a due date. You can also assign the same video to multiple classes.

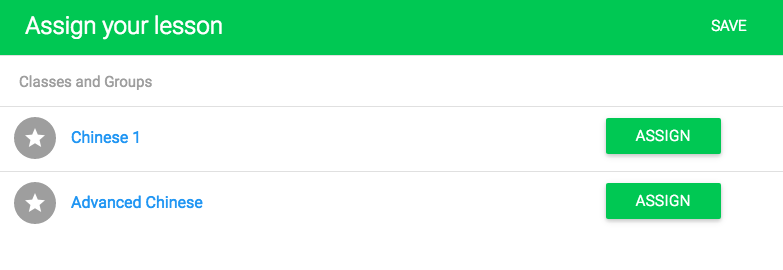
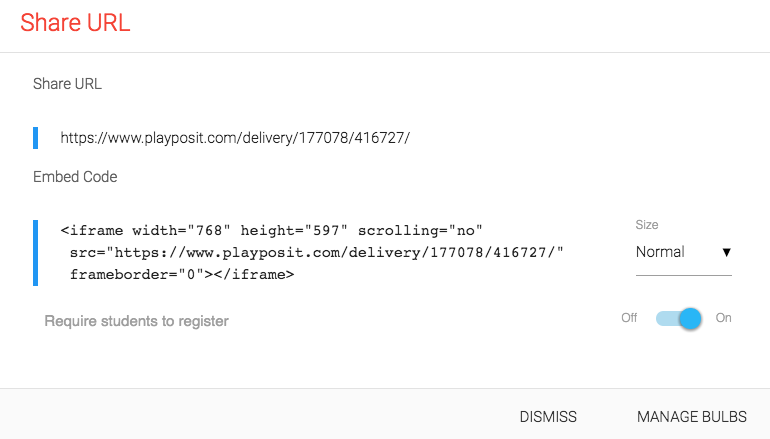
When you have assigned the lesson, you get a screen giving you either a link to share, or an embed code to embed in your website.


Last but not least, Playposit give you a simple screen to look at videos you have assigned to your classes and which students completed them and, in the case of questions with objective answers, a right/wrong indication.

Edpuzzle has new functionality called Live Mode, which allows you to use it in class while students are watching the video and responding to questions. This requires that each student have a device, of course.

NOTE: Although Zaption is being discontinued, this video discusses the features available in Edpuzzle, so is worth a look.

Wizer.me

Wizer is a relatively new entrant into the field of educational technology. Created just last year, Wizer makes it exceedingly easy to create an online worksheet for students. These worksheets can include audio, video, images, links, matching questions, tables, fill in the blank, fill in on an image, and multiple choice questions. There is almost no learning curve here. Create a free account think through what your Source information is for example of video then decide on the questions you want to ask. Save it and distributed to students. If you're using Google classroom, there's a link to distribute it to a class right there. Otherwise just grab the link and give it to students. When you're creating the quiz you have the option to give students automatic feedback on certain question types so that they know immediately whether they got it right or wrong. When you are correct in their work there is a box in which to give your more substance of feedback. Take a look at the video below of me creating a worksheet, then doing the quiz as a student, and then looking at the results as a teacher again. There are also a few instructional videos on Wizer’s YouTube site.


Tunein

Tunein is a directory of online radio stations, including lots of foreign language stations. Signing up is free and easy, and only necessary if you want to save favorites. If you are embedding a station - see below - or giving students a link, they do not need to have an account.

How you use these is up to you. You can find programs to play, or you can listen to live streams. As pure listening practice for high er level students, radio is a great and authentic option.

VLC

VLC is a media player, freely available for download. For the About screen:

VLC media player is a free and open source media player, encoder, and streamer made by the volunteers of the VideoLAN community.

VLC uses its internal codecs, works on essentially every popular platform, and can read almost all files, CDs, DVDs, network streams, capture cards and other media formats!

What we are interested in here is the Icecast Radio Directory. Like Tunein reviewed above, there is a plethora of content available here. It is a bit challenging to search on the VLC app - you have to enter a term that appears in the title - so we suggest going online to find what you want. The directory is also difficult to ind, so here it is https://dir.xiph.org/by_genre/Radio.

Once you do find a station you like, click and drag it to the Playlist to add it.

There is a nice writeup here about setting VLC up to come on automatically when you tunr on your computer, a great way to encourage listening.

Here's a link to the VLC Help wiki.


Youtube

One of the functionalities that YouTube has is called playlists. A playlist is a set of videos that are strung together, or listed together, so that your students can listen to or view one after the other. It is very easy to create a playlist and there is so much quality content available on YouTube that it should be easy for you to find videos that you want to place in playlists for specific units for any given course. In addition, you can add your own YouTube videos to your playlist. The following video shows you how to create playlists on YouTube.

Here is a playlist I created for basic Hebrew.

Dotsub

Dotsub is a site that allows you to put subtitles on videos, thereby helping students comprehend language that may be above their level. Here is a step-by-step explanation from Novastartalk. Start with a preview and pre-think.
  1. Go to dotSUB http://dotsub.com/
  2. Go to Featured Translations to explore the usage examples of dotSUB.
  3. List the effectiveness and ineffectiveness of dotSUB examples for language class use.
  4. Develop an example of one activity for your daily lesson plan using dotSUB.
  5. Write goals and objectives for your activity.
  6. Identify the task your students will be performing.
  7. List standards addressed in your activity and rationale.
  8. Describe how students will be collaborating.
  9. Describe how to assess students’ learning progress performed in dotSUB.

Now you are ready to create:

  1. Go to http://dotsub.com/
  2. Click Get Started-Signup tab at the right side.
  3. Provide the information. Check the Agree with the dotSUB Terms of use box. Click Signup tab below.
  4. Go to the e-mail account you just provided and click on the validation link.
  5. Type your username and password above. Click login.
  6. Once you are logged in, you should be able to see your name.
  7. Click Post a New Video on your right.
  8. Provide a title and short description. Select one from License, Language, County and Genre.
  9. Type the information for Producer and Director. Check the box if you would like to make your video public (You can always change your settings later). Click upload file if you have a video you would like to use on your computer. Click Choose file.
  10. Click a video on your computer and click Choose.
  11. Click Upload.
  12. If you know the links of the video, one of the YouTube videos, for example, copy the URL.
  13. Click Create from existing internet address, paste the URL and click Upload.
  14. Now you should see the video uploaded with a title and a short description under My Personal Videos.
  15. To start working on your video, click the image of the video.
  16. You should see the video player on the left and three different topics:Translate and Transcribe, Video properties, and Share. To transcribe your video, click the triangle shape next to the topic and click Transcribe Video.
  17. Click the tab at the bottom to use the advanced timing user interface.
  18. To add a transcription, type in the box. You can control when to appear and disappear the line by changing the numbers on the left box. Play the video player and see how your subtitle looks. Click + sign on the right when you are happy with your transcript.
  19. Now you should see the lines uploaded on the right side of the video. if you would like to rewrite your transcription and change the timing of the subtitle, move your mouse next to the transcript below Edit.You should see a pencil icon. Click it to edit.
  20. Click check mark when you are happy with your transcript.
  21. To complete your project. Click Mark this transcription complete.
  22. Click OK. Note that once you click OK you cannot modify the transcription again.
  23. Now you should see your video with the transcription in your selected language.
  24. Once your transcription is complete, you should able to see Translate into below Translate and Transcribe. Select the language and click Translate.
  25. Click to translate into your selected language.
  26. Type in your translation in the box. Hit return key to complete the translation.
  27. You should see both your transcription and translation under Caption. If you are happy with it, click Back to Video.
  28. Now you see the translation of the video.
  29. You should be able to select one in two languages for your video.
  30. To modify your video properties: limit the access to the video, for example, click the triangle icon next to Video properties. To get the information for sharing the video, click the triangle icon next to Share.

Below are several tutorial videos from Dotsub.

GLOSS

GLOSS, or Global Online Support System, is a function of the Defense Language Institute (DLI). It is chock full of reading and listening lessons for almost any language you are likely to be teaching. A search lets you find just what you are looking for, and there is a lot here.

The types of text vary, as do the exercises, which are tailor-made for each lesson. No sign up is necessary, and the quality of both the material and the exercises is very good, if a bit boring. You might include a form that you make yourself as a way of getting feedback sent to you after students complete the exercises.

Here is the front page.

Searching for Korean listening lessons at Level 1.

Even for a lesser common language like Korean, we still get lots of results.

Choosing one, we get to the front screen of this unit.

As you work through, each screen has a popup instruction panel.

Each lesson has different exercises to help with comprehension.


TeachVid

Teachvid https://www.teachvid.com is an exciting new tool to help make meaningful use of videos by using subtitles and activities. Take a look at the description below from their website.

Note that to get meaningful use out of it requires a subscription - though you can try it out for free and create up to 5 videos - that will cost you around $12 per month. You could spread the cost over several teachers.

Complete and Continue